We’ll this is embarrassing. Apparently I’ve reverted to semi-annual blog updates. It isn’t that I don’t care about my readers. I’ve been sharing plenty of anecdotes with the Chicago Foodies followers. And it isn’t that I have been hibernating this winter…as evidence from my Instagram proves.
I’ve just been busy. You know, eating out at fabulous restaurants, making homemade soups and noodles from scratch, baking outrageous German chocolate pies and even doing a little traveling, too. In December I went to New Orleans with one main item on the agenda – eat some amazing Cajun and Creole food. If you know me, you know I made it a priority to find the absolute best restaurants and bars in the area. Here were some of our favorites.
1. Bread Pudding, Lüke

This John Besh spot around the corner from our hotel was our first meal in NOLA, and we weren’t disappointed. I’m a huge fan of Besh after seeing him on Top Chef this past season, so I couldn’t wait to try his restaurant. I had an amazing shrimp étouffée, and we ended the meal with a praline bread pudding. You must order bread pudding if you go to NOLA, and it won’t be hard because you’ll find it on just about every dessert menu.
2. Shrimp Po’Boy, Parasol’s
Something you should know about New Orleans is that they take their holidays very seriously. Like restaurants closed two days after Christmas seriously. I’ll be honest. This restaurant was not our first choice for lunch that day. Or our second. Or third. Basically we were stranded, hungry and I was getting pretty irritable so we had to think fast. Yelp to the rescue!
 While the exterior of Parasol isn’t anything to brag about, the food certainly is. We waited. And waited. And waited for our po’boys. But I don’t hesitate when I say that it was worth it. When you’re in NOLA, it’s hard to go wrong with a po’boy. I opted for the firecracker shrimp – fried shrimp tossed in an addicting sauce. Don’t judge me for eating every bite until you’ve had one yourself.
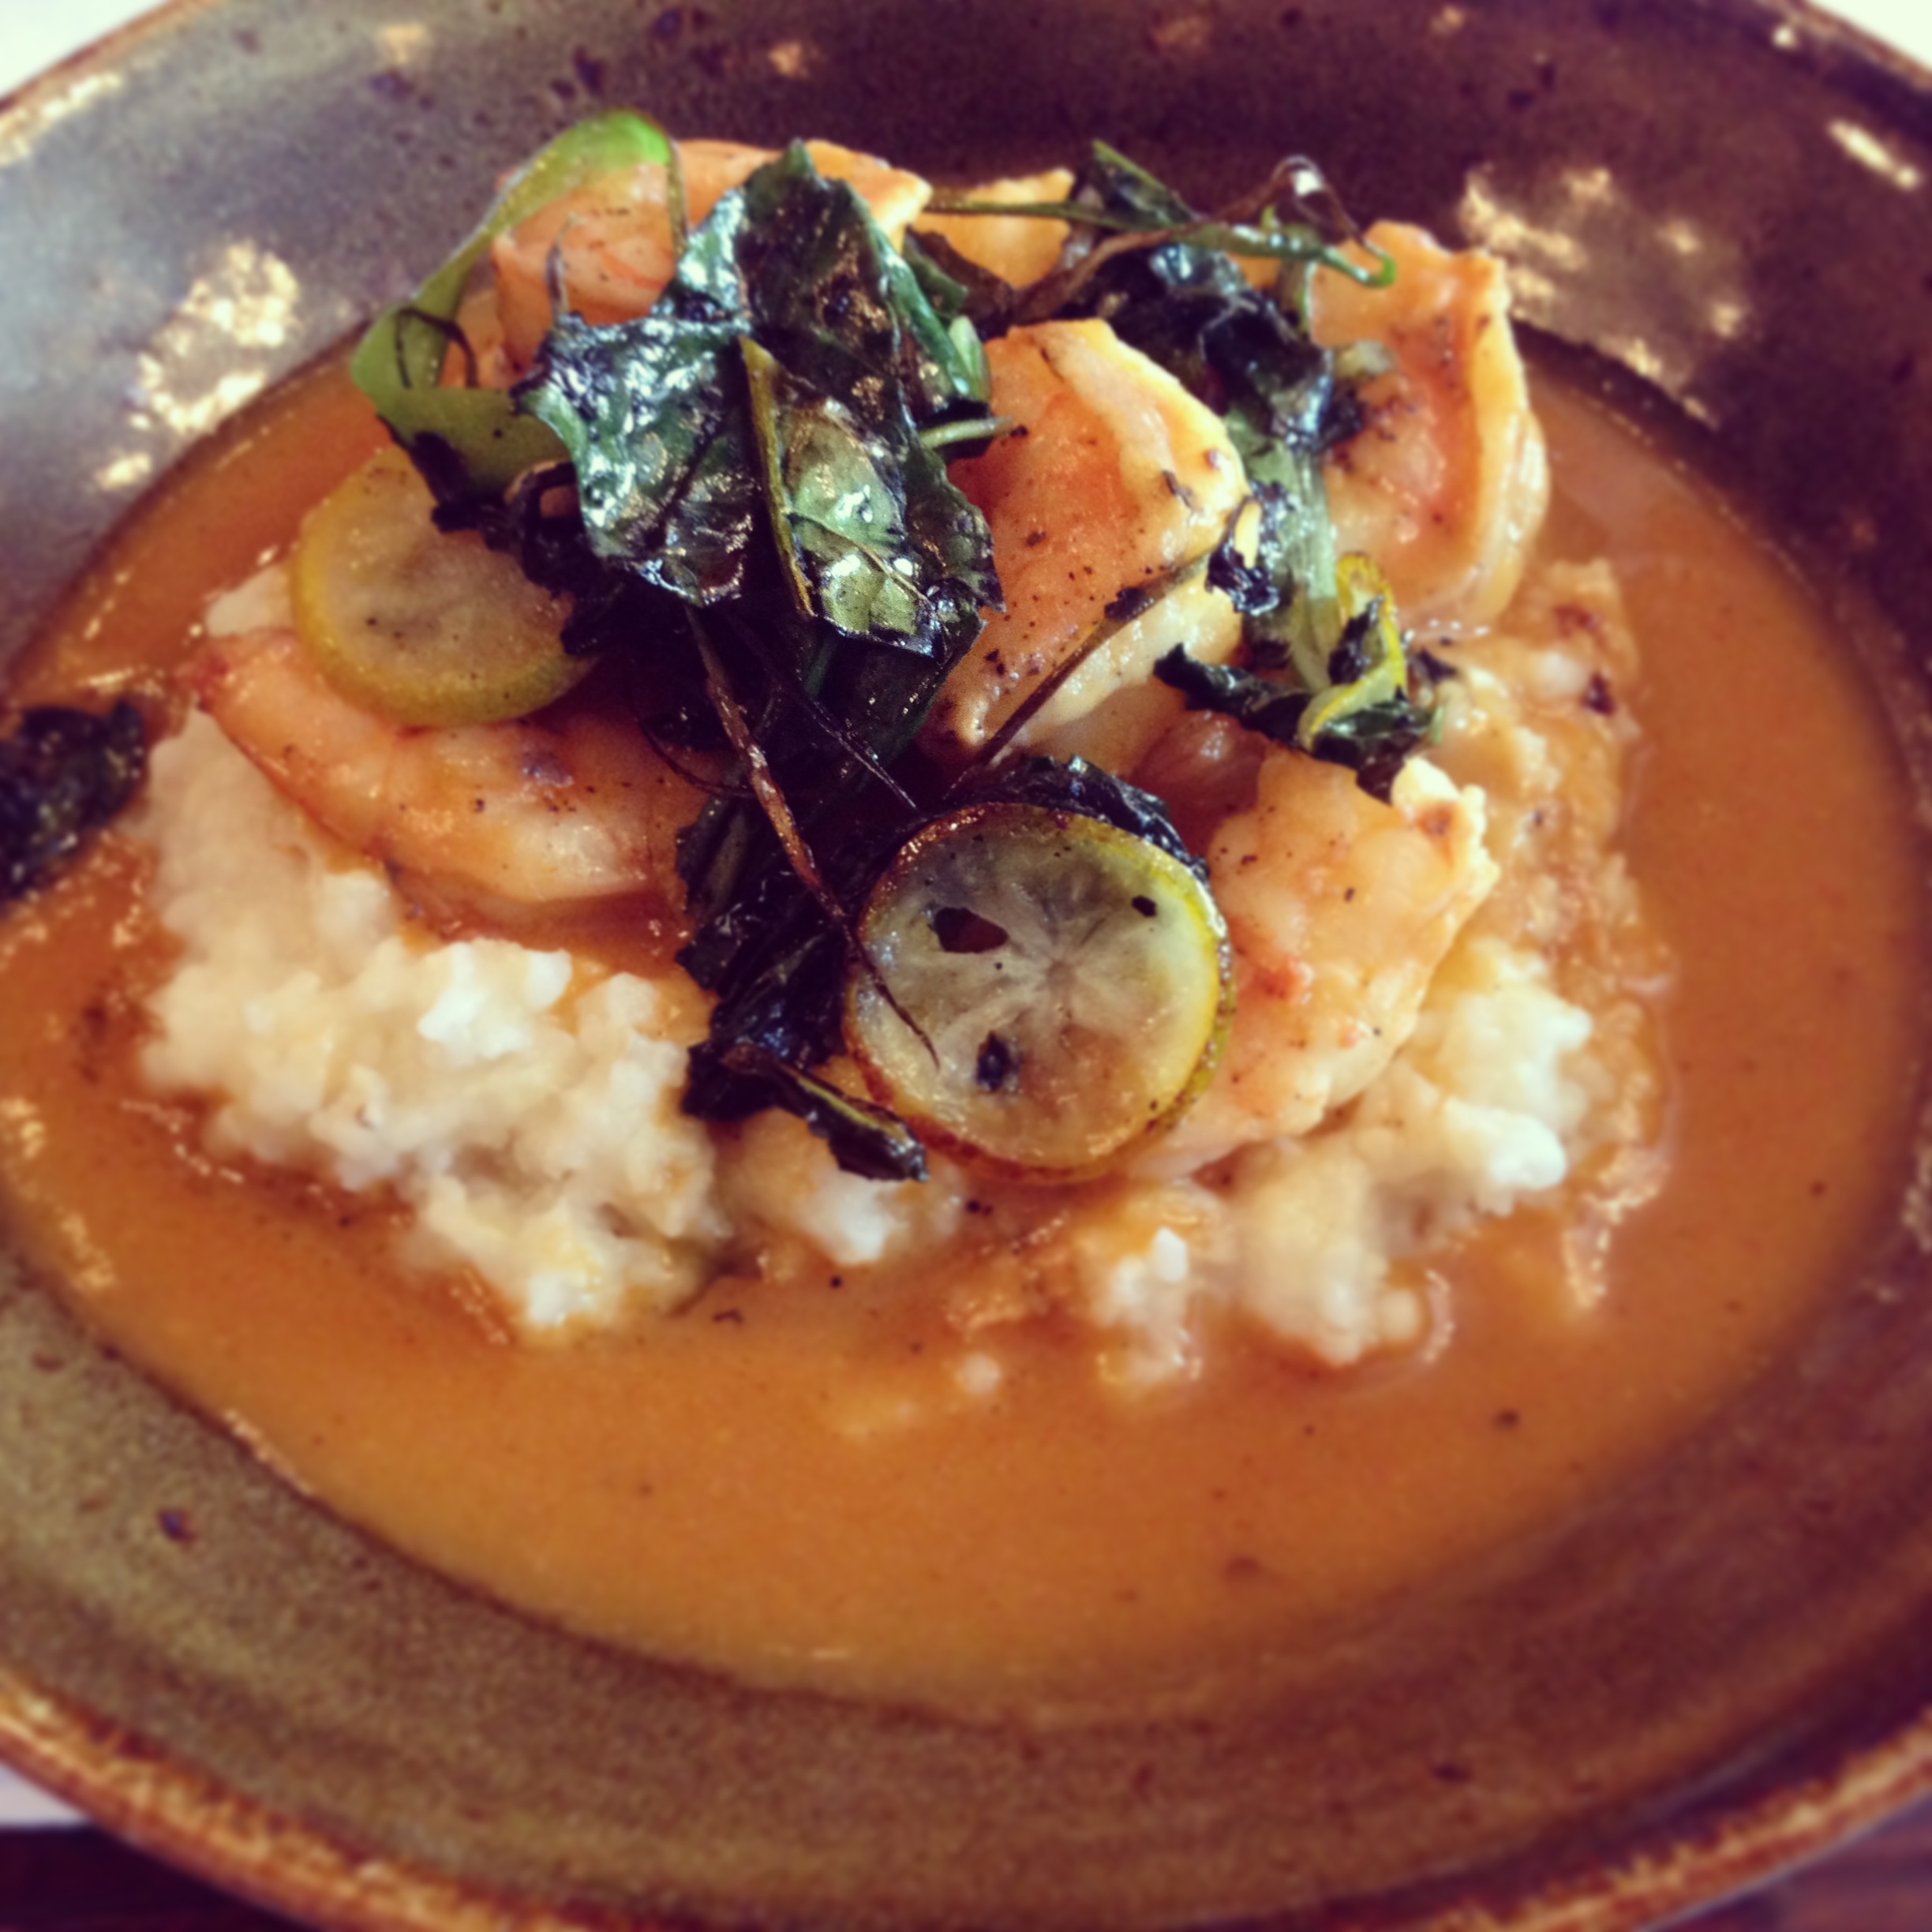
3. Shrimp and Grits, Coquette
The day we ended up at Parasol, we were trying to go to Coquette. I couldn’t be happier that we decided to go back (when it was actually open) the next day. I opted for a 3 course lunch special, with shrimp and grits as the star of the meal. These were hands down the best shrimp and grits I’ve had, and the meal was one of my absolute favorites from the trip. The grits were perfectly creamy, with a great zing from the lemon. I ended the meal with mini doughnuts and ice cream. My only complaint was that I wanted to go back for dinner, and there just wasn’t time…or room in my stomach.
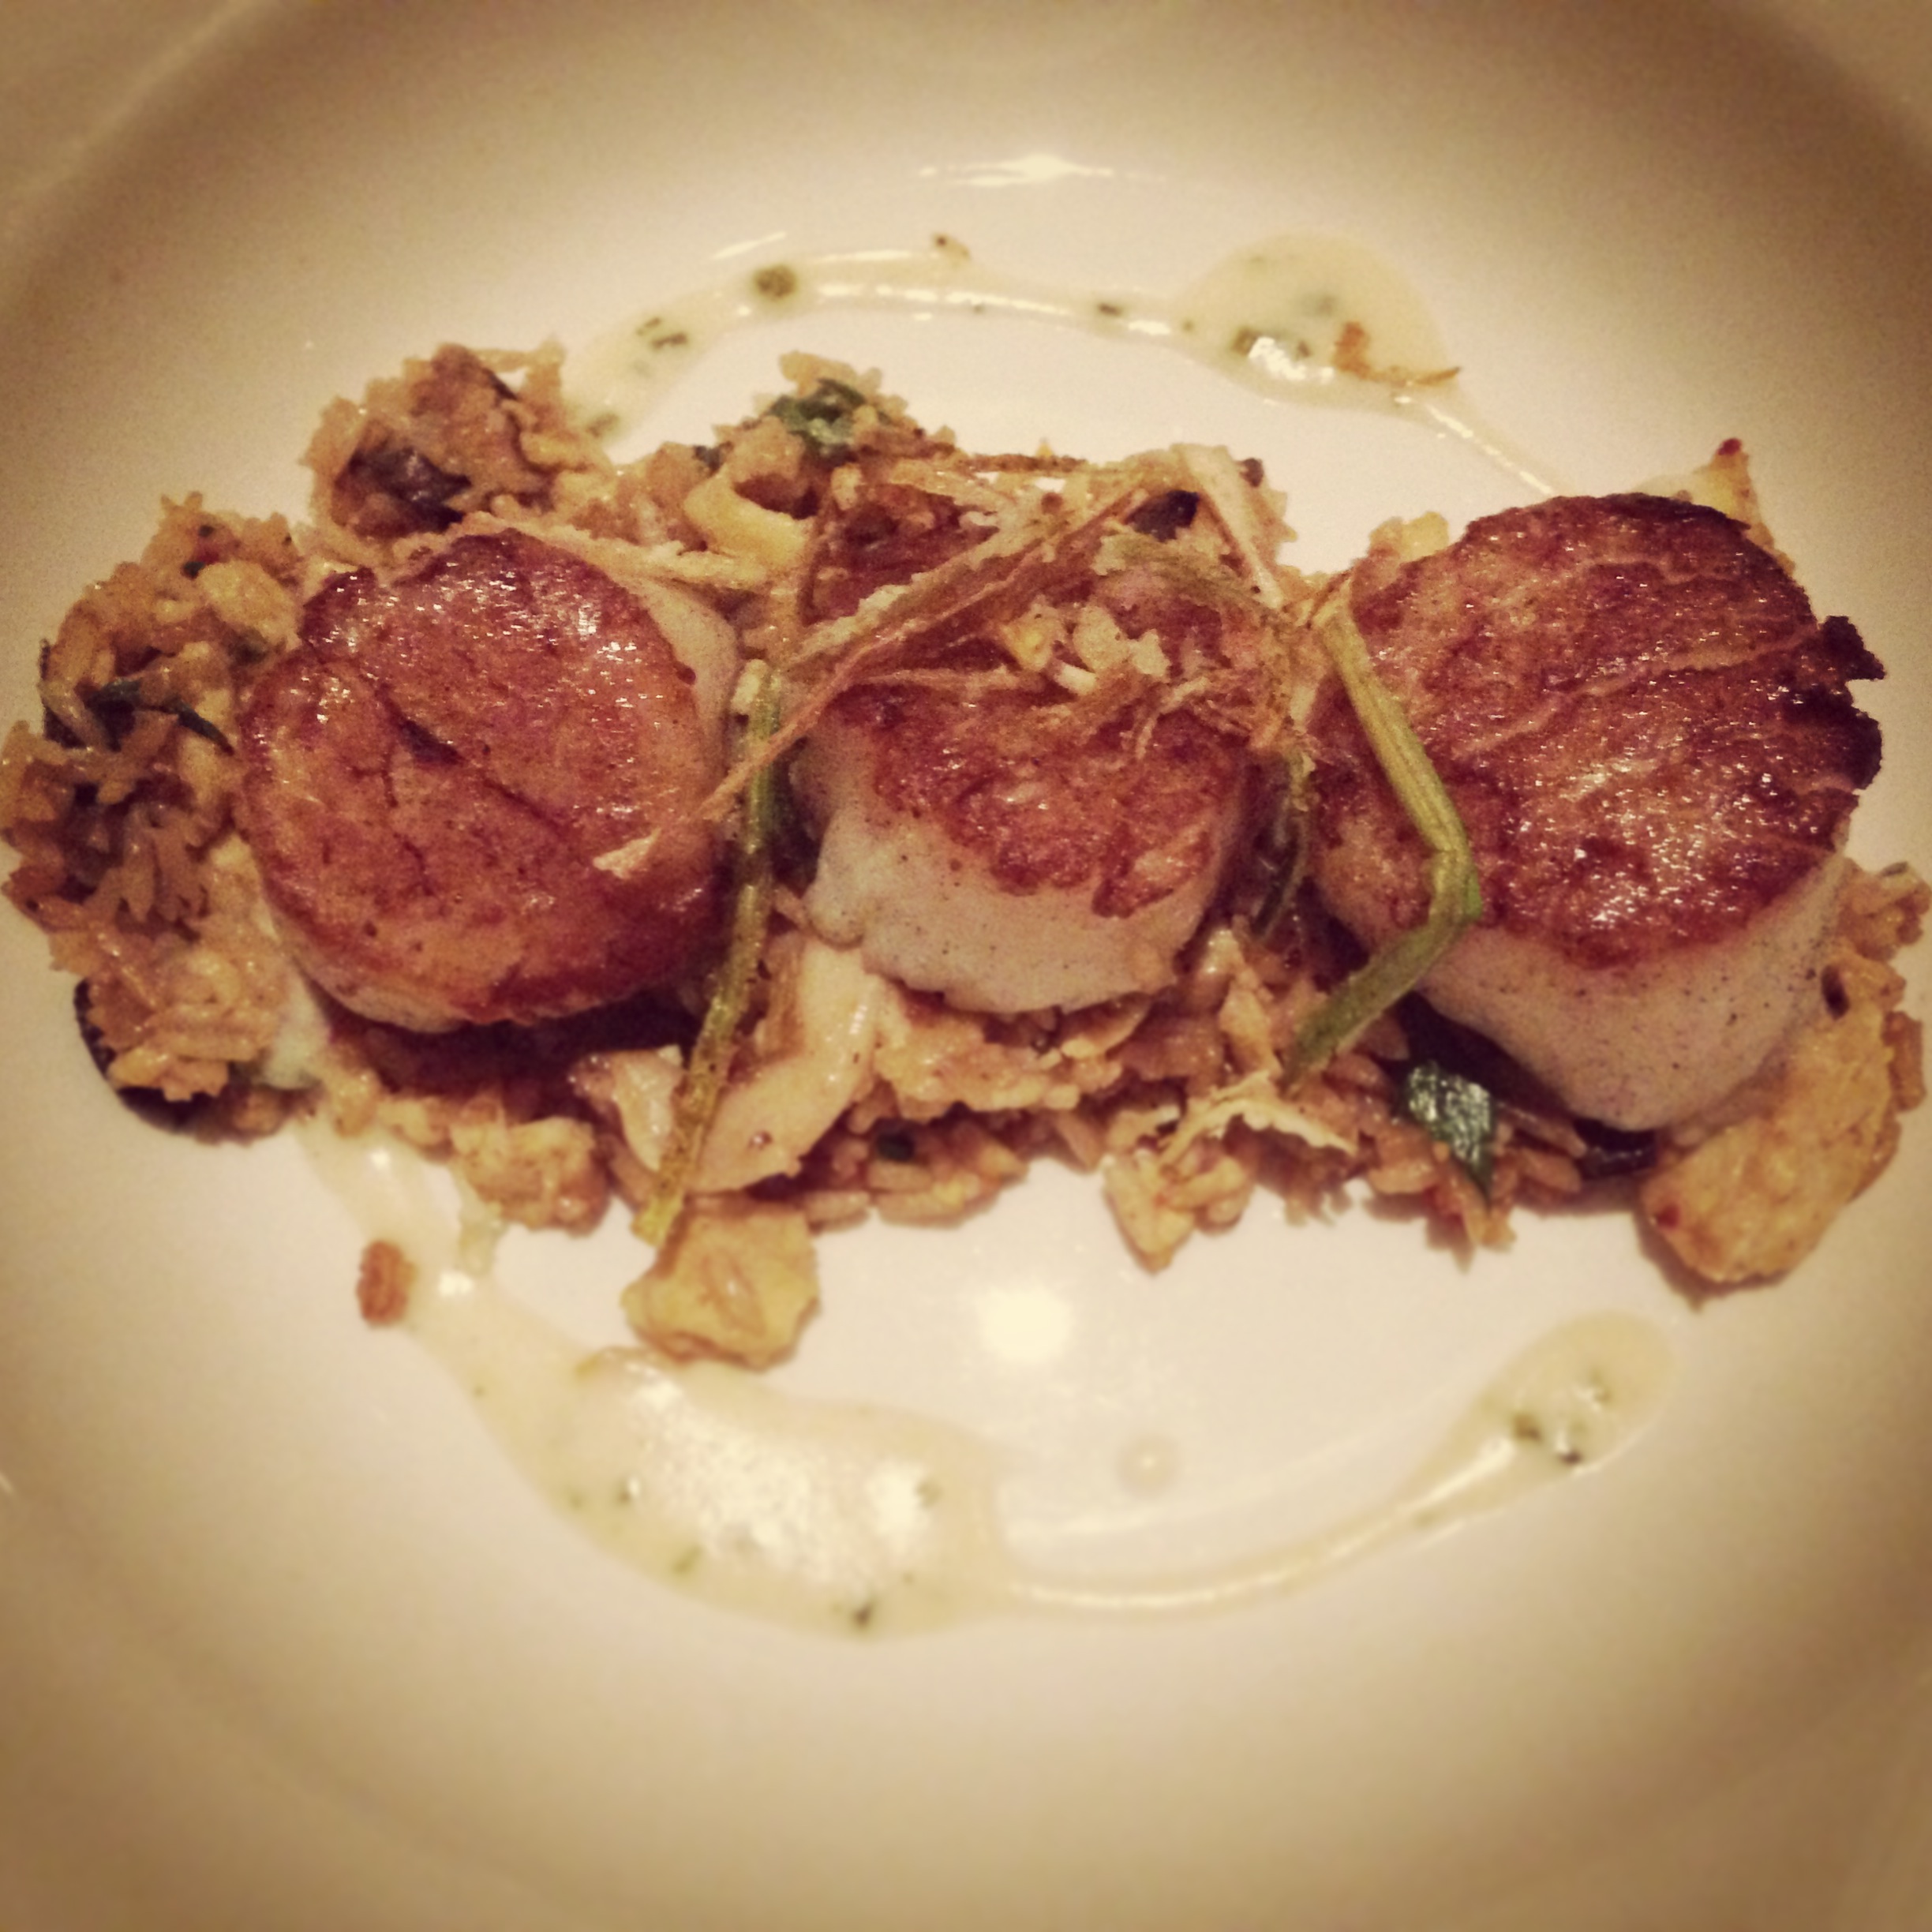 4. Seared Scallops, Commander’s Palace
It may be old-fashioned and it may be traditional, but there’s just no comparison to Commander’s Palace when you’re in New Orleans. Before you even book your flight, you should probably call Commander’s for a reservation – it’s that hard to get one. I’ve heard they have great cocktail specials at lunch (and a more affordable meal, I’m sure), so if I went back that’s what I would probably opt for. We decided on the full dinner. Plus, two desserts, of course.
We started with fried oysters and turtle soup, and then I ordered something that wasn’t shrimp for once. The seared scallops were perfectly cooked and served with a crunchy rice. I’m sure anything you order there will be incredible. We weren’t as blown away with the bread pudding souffle as we had hoped, so then we just had to try the pecan pie, which was gooey, fresh and delicious as expected.
 5. Bread Pudding French Toast, Dante’s Kitchen
Start with bread pudding and end with it, right? This was our last meal in New Orleans, and I figured I might as well go all out. We took in the sun on the back patio and ordered a few local drinks while we waited. This was my friend Lauren’s ultimate NOLA reco, and her favorite brunch spot, so we couldn’t wait to try it out. We ordered some memorable biscuits to start, served with strawberry and apple jams. They were chewy, buttery and slightly salty. Not too far from the biscuits at Bang Bang Pie in Chicago.
Then came the french toast. I’ve had bread pudding pancakes before but never french toast. These were served with apple syrup, which added a nice fruity (healthy?) flavor to the dish. Moist, and delicious – second to only our Luke bread pudding I would say. And it was the perfect way to end our trip.
A few other things I can’t forget to mention. We saw a ton of great live music in between all of the eating we did. We hit up Frenchman Street (highly recommended) and bounced from place to place to see some reggae music and some traditional tunes. We decided to skip Preservation Hall (and the hour long wait in the rain) and went down the street to Fritzel’s instead. Don’t miss it. 
You probably can’t believe I went through all of my favorites without talking about beignets at Cafe Du Monde. Well, here it is. Cafe Du Monde wasn’t my favorite, but it is a solid breakfast prior to checking out the French Quarter. The beignets are not complex. Still, they are warm, powdered sugary and delicious when dipped in your Cafe Au Lait.